As gamers, we often find ourselves juggling games from various platforms—Steam, Epic Games, GOG, Origin, and more. Keeping track of them all can feel overwhelming. Especially at times when there are sales and events where we get cheaper video games, our library exponentially grows.
And here comes in Playnite. In this guide, we’ll explore how to use Playnite to help you sort your gaming library and manage your game collection seamlessly.
What Is Playnite?
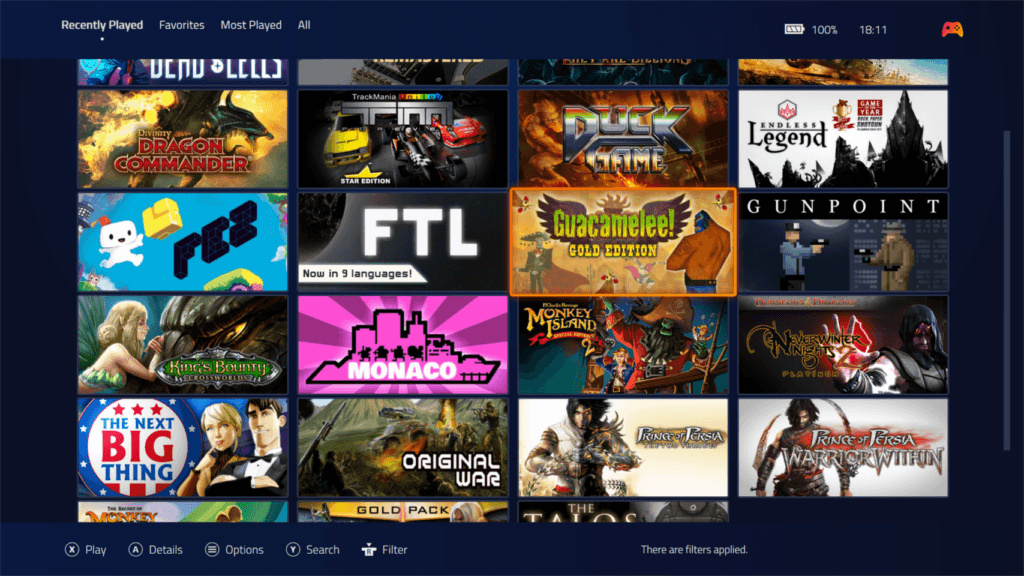
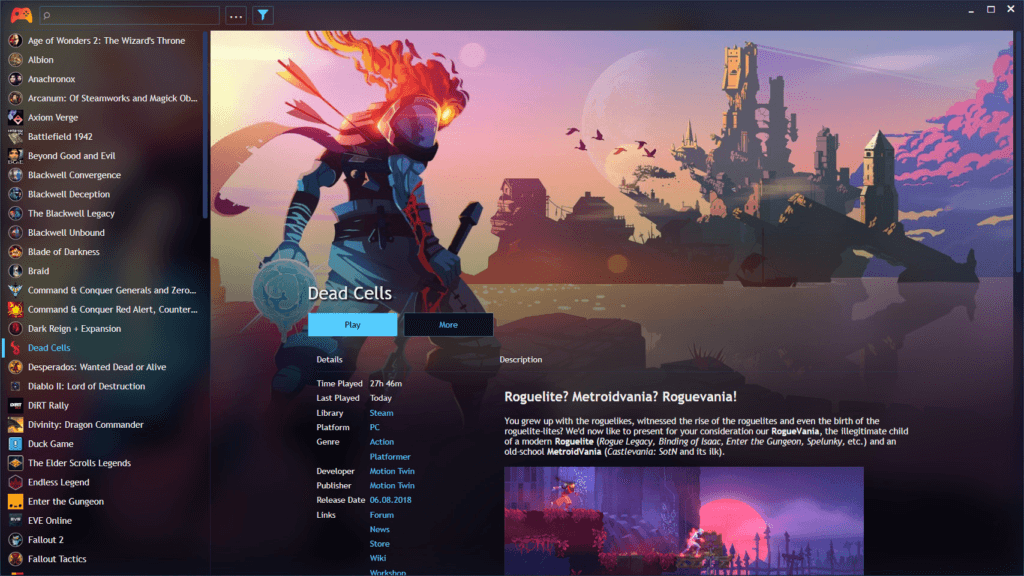
Playnite is an open-source game library manager that unifies your games from different platforms into one cohesive interface to help you sort your gaming library. Think of it as the ultimate cross-platform organizer.

Let’s discuss the interesting features it offers briefly.
Centralized Library
Playnite aggregates your games from Steam, Epic, Uplay, and other launchers. No more hopping between apps to find that elusive title, everything is in one place to help you sort your gaming library.
Customizable Views
Arrange your games by platform, genre, release date, or any other criteria you fancy. Playnite lets you create custom categories and tags.

Metadata Magic
Playnite fetches game details, covers, and screenshots automatically. It’s like having a personal assistant for your game collection.
Getting Started with Playnite
The first step is to Download and Install Playnite from the official website (and here is a direct link to the download.) Install it like you install any other Windows application.
Then, you will need to set up your library integrations. The first time you open Playnite, you will be driven to the “First Time Configuration” wizard. Use it to set up your gaming library.
During the set up of your gaming library, Playnite will automatically import the games that you have on the platforms you have selected.

Importing Games Manually

- Click the Playnite logo on the top left.
- Click the big “+ Add Game” button in Playnite
- Choose which way you want to import the game (manually, automatic scan, emulated game or Microsoft Store application)
- Continue with Playnite’s on screen instructions.
Bonus Tips
- Custom Covers: If Playnite doesn’t fetch the right cover art, you can manually add custom images.
- Emulators and ROMs: Playnite supports emulators, so you can include your retro games alongside modern titles.
- Game Details: Right-click on a game to access additional info, launch options, and community links.
Conclusion
With Playnite, your game library becomes a well-organized sanctuary. Say goodbye to the chaos of multiple launchers and embrace the simplicity of unified gaming bliss.


